Showing posts with label Gluten Free. Show all posts

Tuesday, April 9, 2013

{Mini} Puff Pancakes - Gluten, Soy, Dairy Free

I love a good puff pancake. My go-to recipe uses a 9-inch pie pan. And a host of non-The Boy-Friendly ingredients.

With my niece and nephew around during Spring Break, I wanted to make mini-versions. Kids always seem to eat better if their food is miniature. I hopped over to one of my favorite blogs to see what they had. Sure enough, I found a Mini Puff Pancake recipe. 

I have adapted the recipe below to be gluten free, dairy free (and soy free). Give them a try!


Mini Puffed Oven Pancakes with Berry Sauce
recipe by ourbestbites.com - adapted by Tree of Life Creative
Ingredients
1/2 cup rice flour
1/4 tapioca starch
3/4 cup coconut milk
2 eggs
1/8 teaspoon salt
2-3 tablespoons coconut oil, melted
powdered sugar
Berry Sauce
6 large frozen or fresh strawberries or mixed berries
3 tablespoons berry jam

InstructionsPlace mini muffin pan in oven and heat to 400 degrees.  While oven is heating, place flour, milk, eggs, and salt in a blender and blend until smooth.  
Carefully remove the pan from the oven (don’t forget it’s hot!) and brush with melted butter. 
Fill muffin wells 3/4 full with batter.
Place pan in oven and bake for 15-20 minutes, until puffed and slightly golden on top.  
Remove puffs and place on plate or platter.  Sprinkle with powdered sugar.  
Drizzle with berry sauce and top with cool whip or whipped cream, or serve with sauce and/or maple syrup for dipping.
Quick and Easy Berry Sauce
Place berries and into small saucepan. Heat on medium until mixture is bubbly. Mash large pieces if needed. Drizzle over puff pancakes!
Yields about 24 mini muffin pancake puffs

Monday, April 1, 2013

Gluten Free, Dairy Free, Soy Free Cornbread


  • The Boy loves to eat. At his last check up he was in the 85 percentile for his weight and height. Not too shabby for a strapping Midwestern boy. I have an inclining that he might be a chef, or at least enjoy cooking when he's older. He plays in his toy kitchen every day. Plus since he has been able to stand on his own he has helped me out in the kitchen. 

  • We do a lot of cooking around here because The Boy has allergies to dairy, soy and lately some sort of wheat or gluten intolerance that we are doing food trials on right now. 

  • The dairy wasn't much of a challenge for me - I often substitute dairy alternatives. Soy was challenging. Turns out soy appears in many forms in the majority of store bought products. Over the last year and a half I have gotten my cooking down pat. Then the gluten issue came into play and I've had to reinvent my recipes and get a even more creative and bold in the kitchen. 

  • And even more so when I start a recipe thinking that I have the key ingredients on hand...like in this recipe! It's very forgiving when you realize that you're out of cornmeal. Oops. Feel free to substitute cornmeal for the grits and polenta if you happen to have them on hand!
Gluten Free, Dairy Free, Soy Free Homestyle Cornbread

Ingredients
1/3 cup tapioca starch
2/3 cup rice flour
1/2 cup grits
1 tablespoon corn starch
1 cup prepared polenta (I used Trader Joe's fully cooked brand) OR Cornmeal
2 tablespoons sugar
3/4 teaspoon salt
2 1/2 teaspoons baking powder
2 large eggs
1 cup (just under) coconut milk (or milk of your choice)
1 tablespoon vinegar
3 tablespoons olive oil
1/2 to 1 cup corn kernels (optional)

Preparation

  1. Preheat oven to 400 degrees. Grease 8x8 inch square pan.
  2. In a bowl, mix tapioca starch, rice flour, grits, corn starch, polenta (or cornmeal), sugar, salt, and baking powder. If using polenta be sure to mix very well - mixture will be very crumbly. 
  3. In a measuring cup mix coconut milk and vinegar to form "buttermilk". Let rest until slightly thickened.
  4. Once milk has thickened, add eggs and oil and mix until blended. In another bowl, beat eggs to blend with buttermilk and 1/4 cup butter; pour into flour mixture. Add corn (or green chilies, or bacon pieces...) if using. Stir batter until evenly moistened.
  5. Pour into a well-greased 8x8 inch square pan. 
  6. Bake until bread is browned and springs back when gently pressed in the center about 20-25 minutes.


Wednesday, March 27, 2013

Homemade Lemon Peppermint Tea

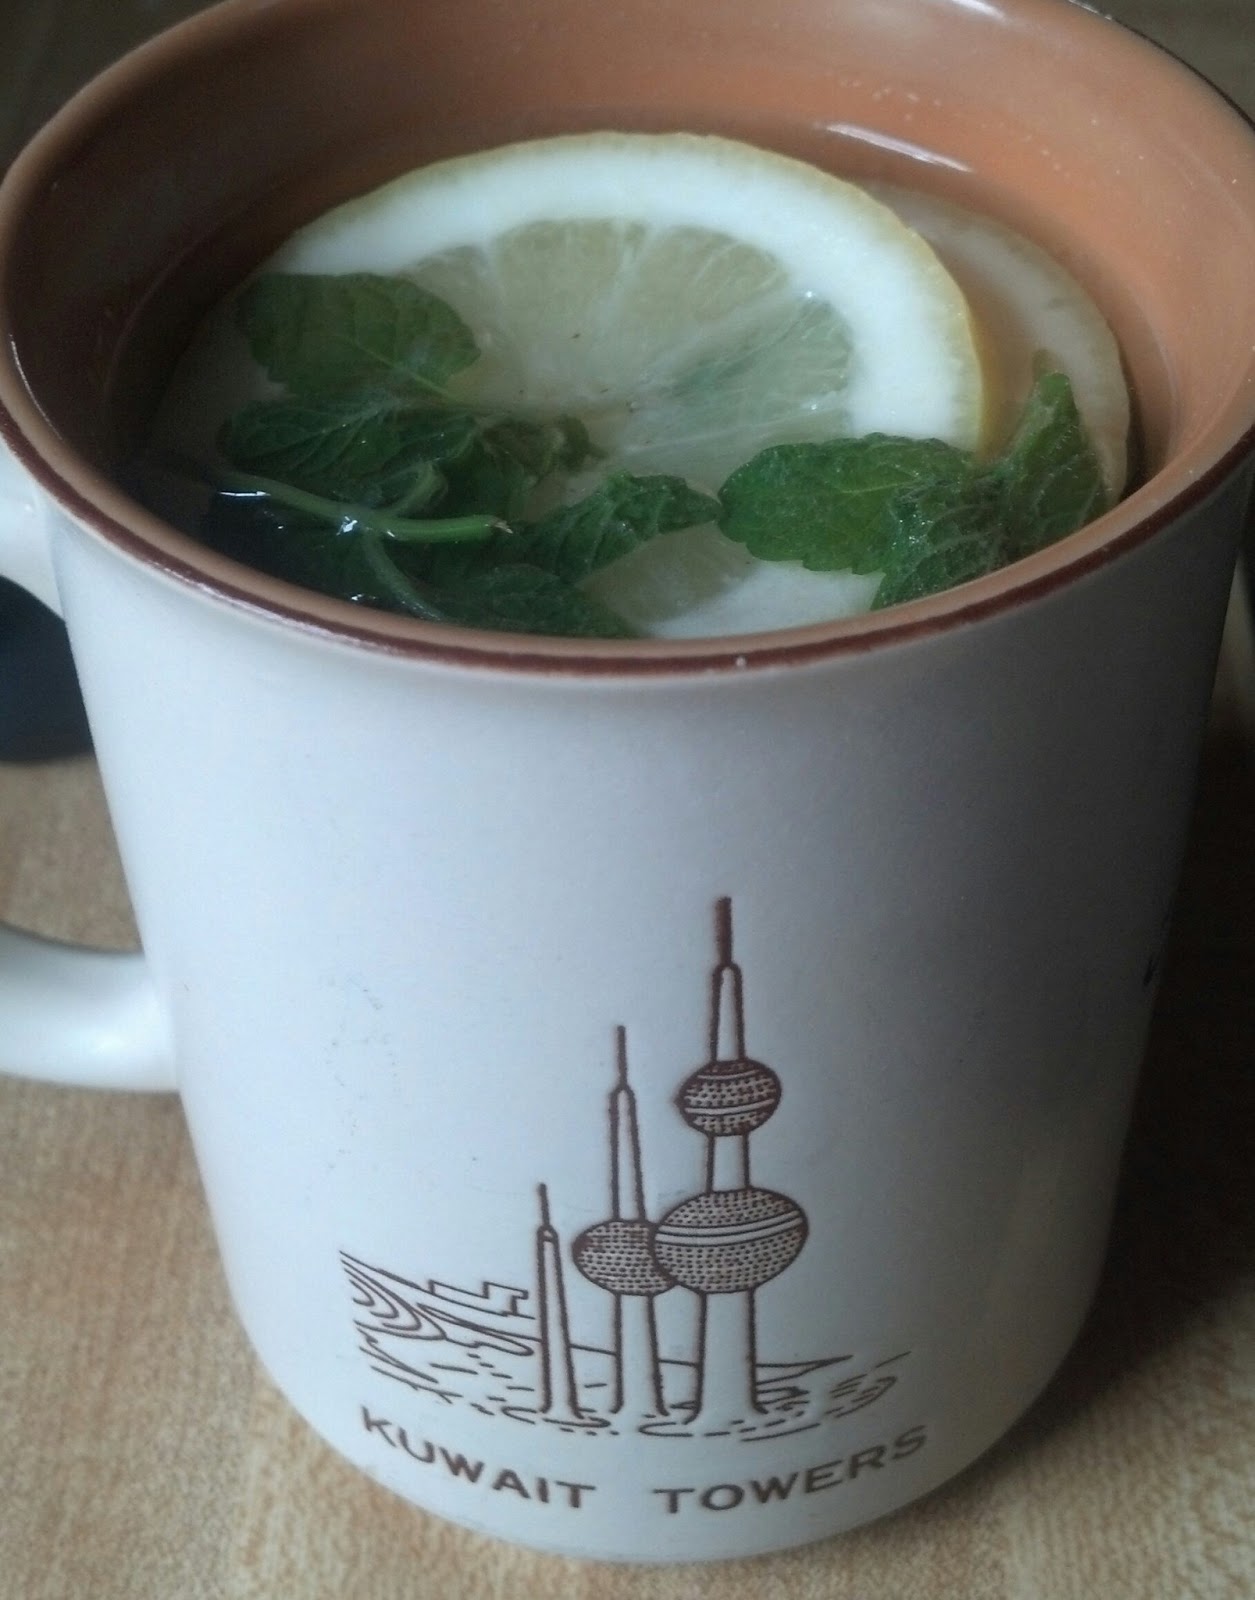
Don't tell The Man...I'm using his Kuwait mug!
I've been struggling to make it through this never-ending winter. This tea is helping me get through it. It's mild and mellow and easily adjusted. Heat up your tea pot - it's tea time!

Lemon Peppermint Tea
1-2 slices of lemon
8-12 fresh mint leaves
1-2 thin shavings fresh ginger (optional)
1/8-inch piece vanilla bean (optional)
1 tsp honey (or to taste)

Heat water in your preferred method. I love my tea pot. Toss ingredients into favorite mug (or stolen mug). Pour very hot water over. Let steep. Enjoy!


Thursday, March 21, 2013

Extra Green Guacamole

I used to be known for spending hours in the kitchen. If you had a time-consuming, pain-in-the-neck-inducing recipe - I was the girl for the job! Complicated instructions. Detail oriented. Particular.

But it was worth every overly nerotic nuance almost every time!

Then, along came The Boy. Now, I spend countless hours each week cooking for him. He is allergic to dairy and soy and we suspect something is going on with wheat and his digestive system. My cooking has gone from dream hobby to complete necessity. My child wouldn't eat much if I didn't spend time in the kitchen.

I also watch my nephew after school for a few hours and he likes to eat. So when you add it all up, I'm generally in the kitchen for about half of the day either cooking or cleaning up (which has been dramatically reduced since my awesome husband jumped on my bandwagon to install a dishwasher in our very old pre-dishwasher home just a few short weeks ago! Maybe I'll write a post on that one too one of these days. Dishwasher: Best. Invention. EVER.).

Back to the story. I spend a lot of time in the kitchen.

I haven't been particularly creative with my own food much in part to the fact that I have to be creative with The Boy's food. Today, however, I wanted something fresh and spring-like for lunch even if the weather outside wasn't exactly screaming "SPRING IS HERE!" (unless 15 degrees is spring-like for you - then you should probably go. I whine a lot about the cold.). As I was dishing up plates of food for the boys, I was trying to figure out what I could make for lunch that wasn't a straight-up salad but was still healthy and incorporated some green.

As I plated my not-so-fancy child lunch of their but favorite scrambled eggs, carrots and dip, and sliced avocado I realized that I wanted an avocado too. I noticed a few cherry tomatoes withering away on my counter. I was thrilled! I could make guacamole! Yes! Noooo. Noooooooo. No. I can't eat straight up guac for lunch. Yes it's green, but I needed more. Plus I'm out of tortilla chips.

I had a vague memory of a kale-guac recipe my family made a year or two ago and decided to replicate it. I was out of kale, but did have spinach.

The results were pretty awesome. Filling. And not too guilt-inducing. Considering that I'd rather eat a bag of jelly beans this time of year to try and keep up my winter layers (pudge) to stay warm during our incredible "spring". Did I mention that I dislike the cold? Whatever. This was better than jelly beans.


Give it a try. Simple. Green. Hurry-Up-Spring in a bowl.

Here is the recipe for my Extra Green Guacamole:

2 large handfuls of fresh spinach - chopped well
1/2 avocado
1/4-1/2 cup chopped tomatoes (to taste)
Up to 1 TB lime juice (I like lime)
Salt - to taste
Pepper - to taste
Garlic - to taste
Fresh jalapeno - to taste (if not allergic like me)

Using a fork or potato masher combine ingredients. Add lime, salt, pepper, garlic and jalapeno to suit your taste preferences. Eat straight up using a fork like a salad or more sophisticated scooping with broken pieces of tostada. Like me. Or wrap in white corn tortillas.

Enjoy!